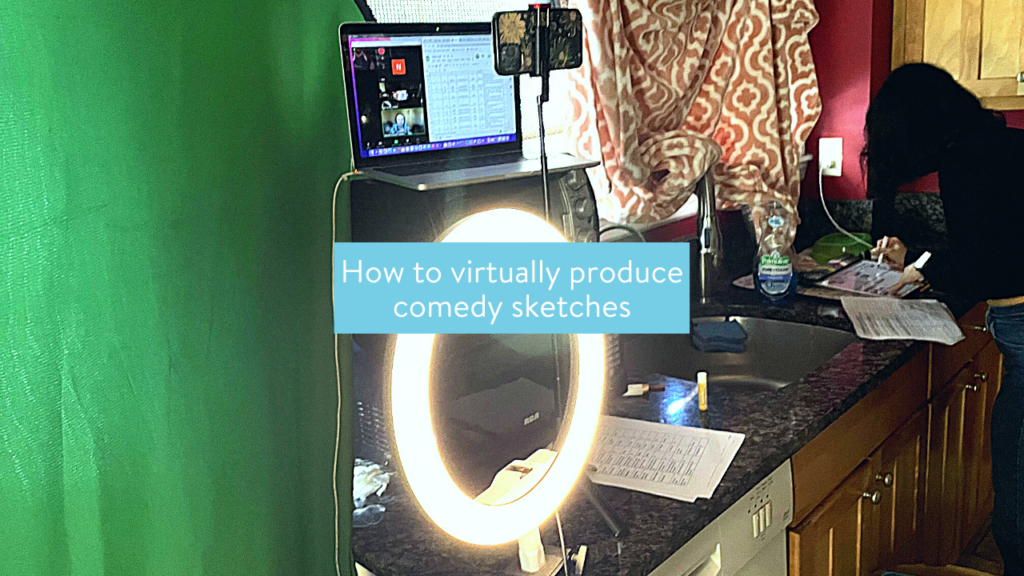
How to virtually produce comedy sketches
Did you know GOLD Comedy has ten digital production teams across the country? WELL, WE DO!
We release two sketches each week and you can binge them all on our Youtube!
I’m honored to be a member of Bloomsday, the only fully remote musical sketch team EVER. That’s right! We pump out hilarious music videos every month and do it all while in different parts of the country, having NEVER MET in person. Bonkers!
You’re probably thinking, “But Kristina, how do you produce sketches when you’re not all together?” And, if you had asked me this six months ago, I would’ve said, “You can’t—it simply can’t be done!” But it turns out five songs and as many green screens later—you CAN do it! Here are the tips and tricks my team discovered while producing sketches remotely.
![]()
Things you DEFINITELY NEED:
- Something to record footage
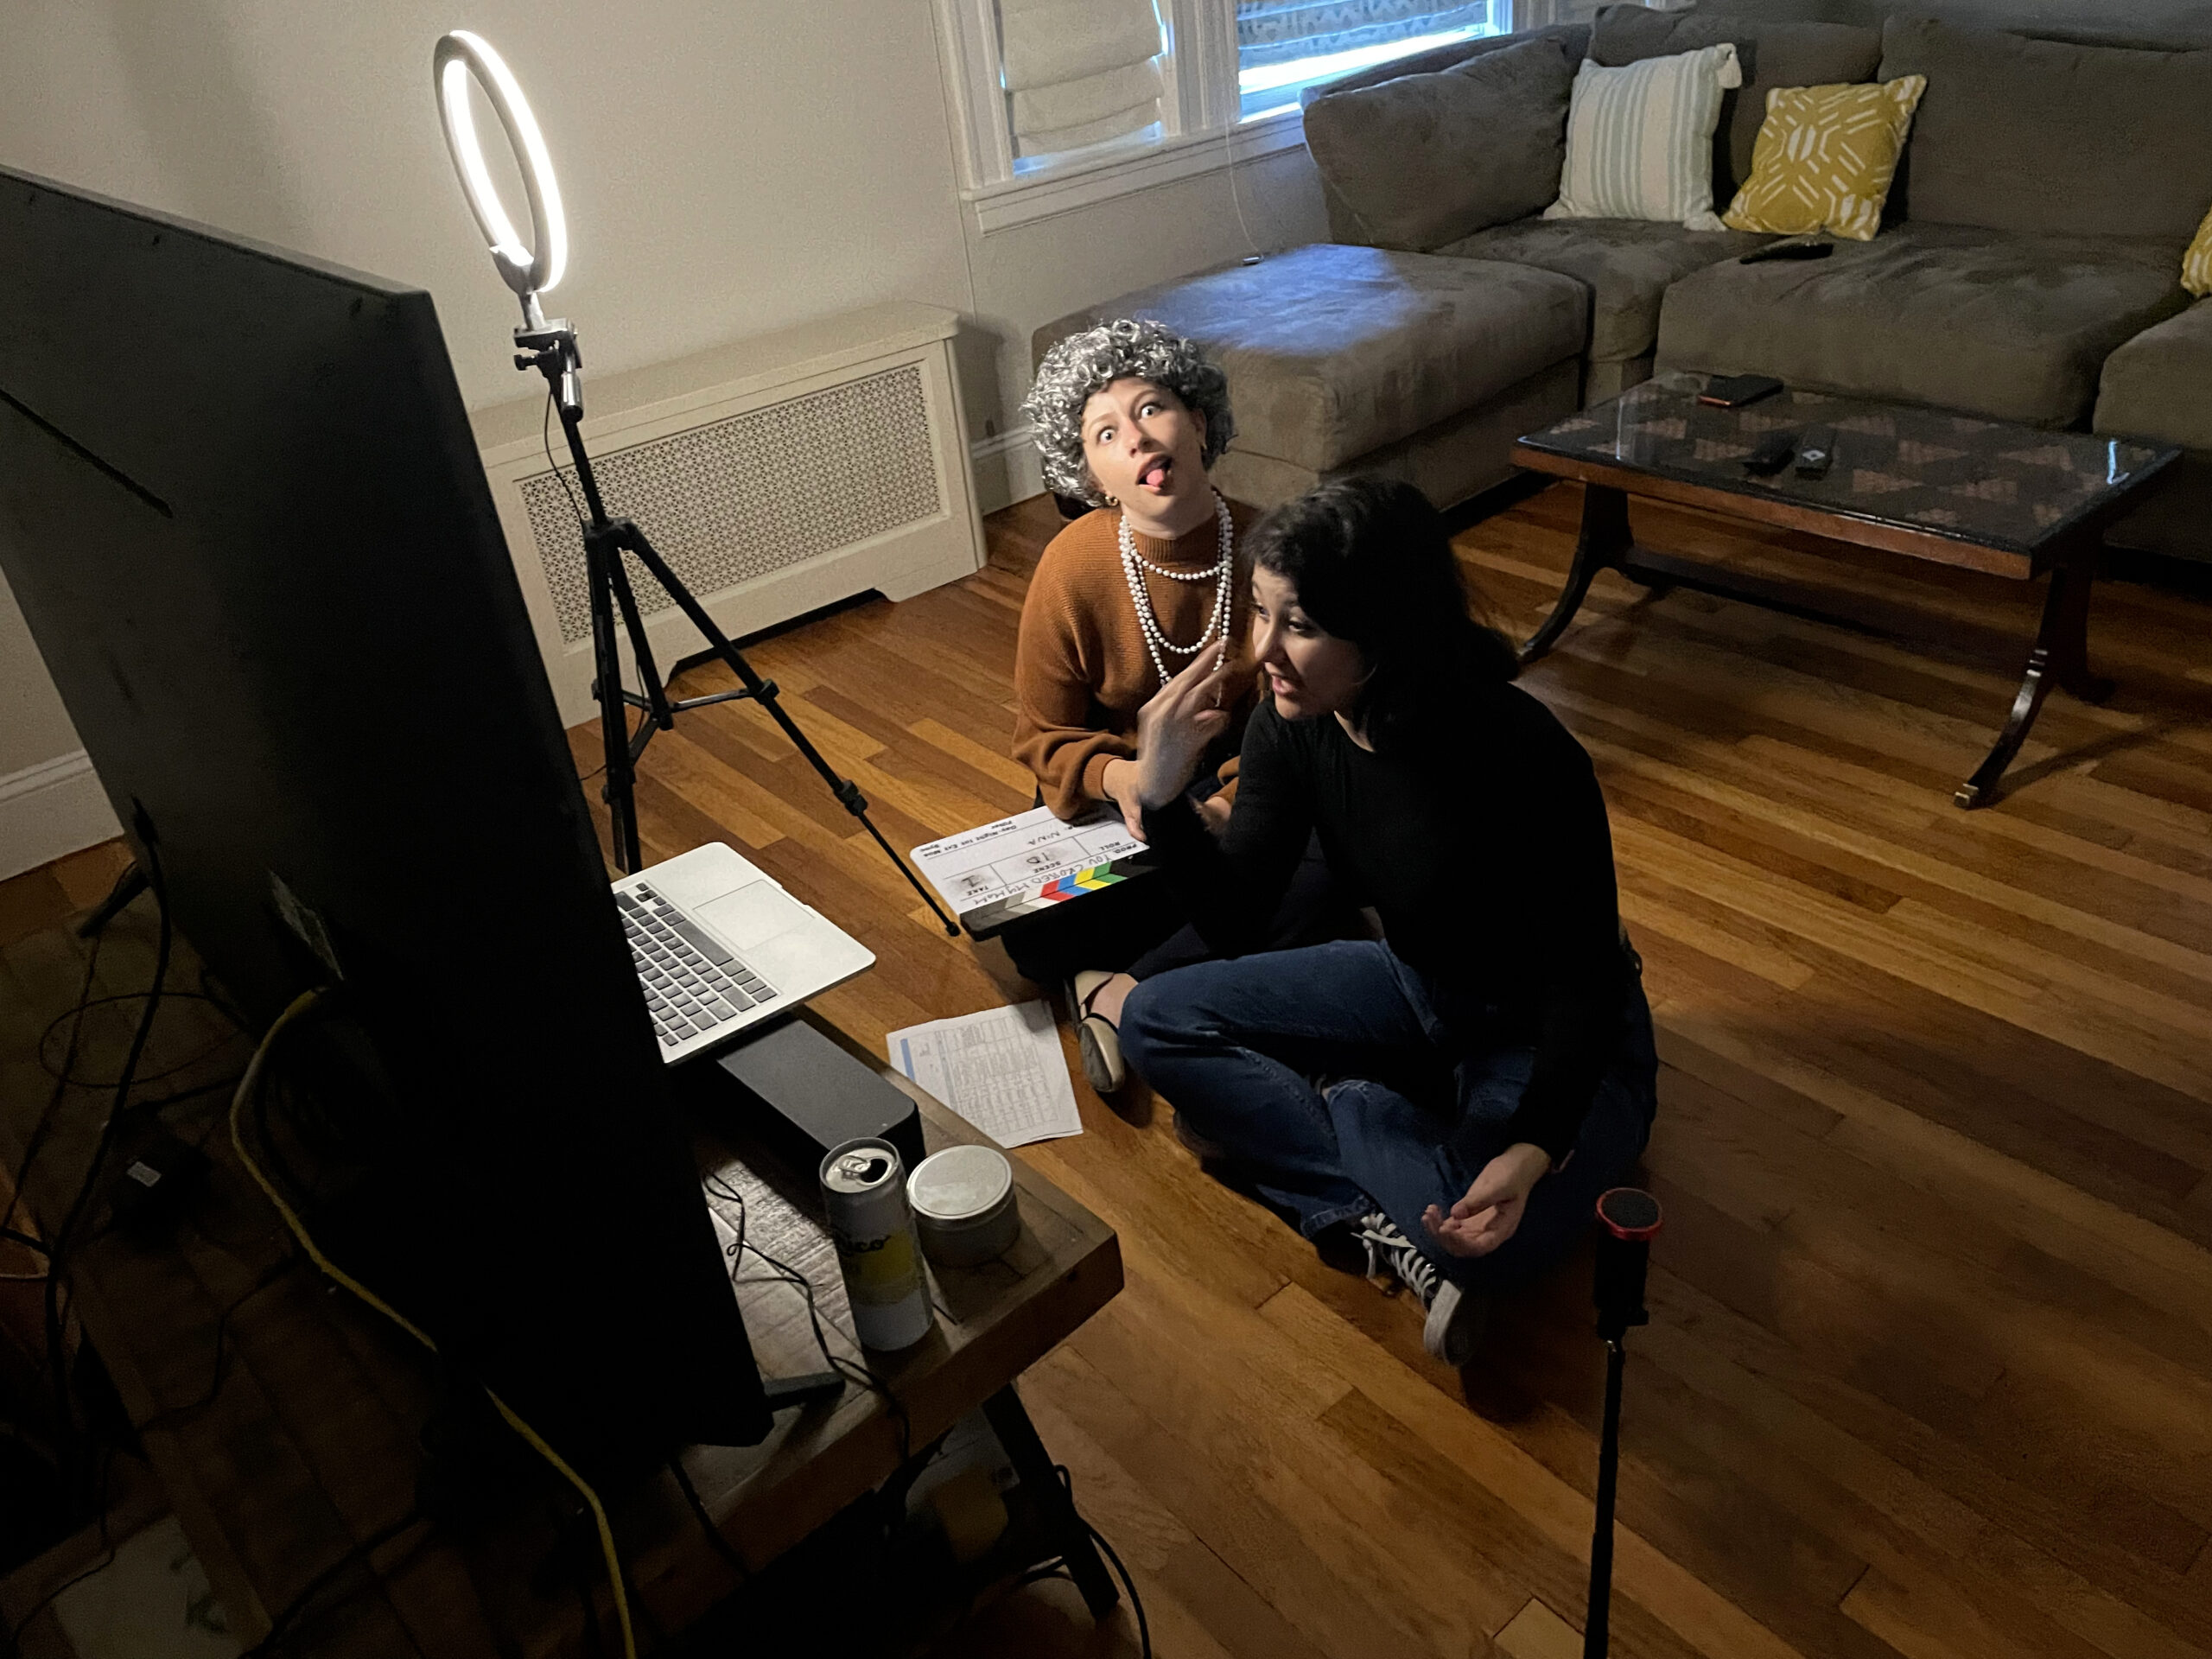
- Luckily, we live in the age of smartphones. So if you don’t have a fancy camera, that’s okay. These days, you can get pretty good footage on a phone. Most of my team films our sketches using iPhones. The key to a good shot isn’t necessarily the camera but the LIGHTING!
- Lighting kit
- Lighting in KEY when working remotely, especially if filming on an iPhone. Lighting your subject well is crucial because low lighting can turn into grainy footage quickly! It’s best practice to light your subject directly instead of relying on overhead or natural light (the sun will move).
- Since we’re all in different places, getting the colors and lighting to match is always tricky. I recommend getting similar lighting kits if you want to form your own remote sketch team. If you still need a lighting kit, two lamps on either side and in front of the subject tend to work fine. (That’s how I do it! We’re scrappy!)
- Microphones
- Good sound quality can make or break a comedy sketch, or any production. Since most of our sketches involve lip-syncing the songs, Bloomsday doesn’t rely heavily on mics, but they are super necessary! For people to laugh, they need to clearly hear the jokes you wrote! So I recommend everyone on your team get the same microphone, so the sound quality matches. Lav mics are a great option because you can find some for as low as $14 on Amazon, and you can easily clip them onto your body. Quiet on SET!!!!
- File sharing system
- You will need a file-sharing system like Dropbox or Google Drive. If everyone on your team films their stuff independently, whoever is editing will need to get access to those files. I recommend using Dropbox (or Dropbox Business if you got a sugar daddy) because Google Drive can take a while to upload and transfer all the footage.
- Editing software
- This is obvious, but you’ll have to edit all the footage eventually. Editing is hard, so work with what you know! If you went to a fancy film school and have access to Final Cut Pro or Adobe Premiere—GO FOR IT. I’m a “Free is for me”/DIY kinda gal, so I use iMovie for editing and Garage Band to play around with music. iMovie isn’t the best, but hey, it does the job! If you’re looking to record vertical Tiktok/Reel sketches, Capcut is an excellent free app to edit on. All my viral Tiktoks have been edited on Capcut (and by viral, I mean they have over 4 likes).
- Virtual hang-out spot
- So obviously, collaborating remotely can be difficult, but it is possible! All of the in-person aspects of production will have to be done on a Zoom or Google Meet sitch. You and your team will have to virtually meet up to pitch sketches, discuss the production schedule and even direct each other when filming. (It’s weird. More on that later.) I recommend using a Zoom Business account because it doesn’t have a time limit, and you can record your meetings and refer back to them. If you can’t get that, Google Meet works just fine. You just won’t be able to record your meetings (which isn’t totally necessary).
Things that are nice to have but not necessary:
- GREENSCREEN (!!!)
- If there is one investment I can suggest with my whole chest, it would be a greenscreen! Greenscreens have been a massive lifesaver for Bloomsday. It’s the easiest way to make it appear like we are all together or in a similar location. Using a greenscreen, however, will require some editing skills in post-production, but iMovie makes it super easy!
- When using greenscreens, remember that it looks best when the greenscreen is not wrinkled and the subject is well-lit. Pro tip: using your lighting kit (or two Room Essentials lamps from Target), ensure that the actor is well-lit from the front and there is no shadow being cast on the greenscreen. If there is a shadow on your greenscreen, it could affect how the final product looks. To avoid shadows, give space between your actor and the greenscreen and add another light between them.
- Tripod
- Whether using a camera or your iPhone, it’s always good to have a sturdy tripod. Since I use my iPhone to film everything, I use an inexpensive ring light/tripod I got from Amazon. Since your team is most likely unable to help you film in person, tripods are super helpful. Otherwise, you can recruit your friendliest tall friend to hold the camera while you shoot. (Be sure to reward them with cupcakes after. Anyone will work for cupcakes.)
- Slate
- Ahhh, the good ol’ slate. It’s so fun to clap the sticks and say things like, “This is scene 2, Cowabunga, take one!” That being said, this tool can be optional if you’re on a tight budget. It is essential, however, to say what the take and scene numbers are at the top of each take. At the very least, you can also use a whiteboard or paper to slate. Trust me, your editors will love you for this!
General tips:
- Shooting on an iPhone
- I can’t speak to Andriod, but if you’re filming on an iPhone, it’s best to use the regular camera app on the phone. To get the best quality footage, switch your camera settings in the “settings” app, not your camera app. Settings > Camera > Record Video > select 4K at 24fps, ensuring that HDR is switched OFF.
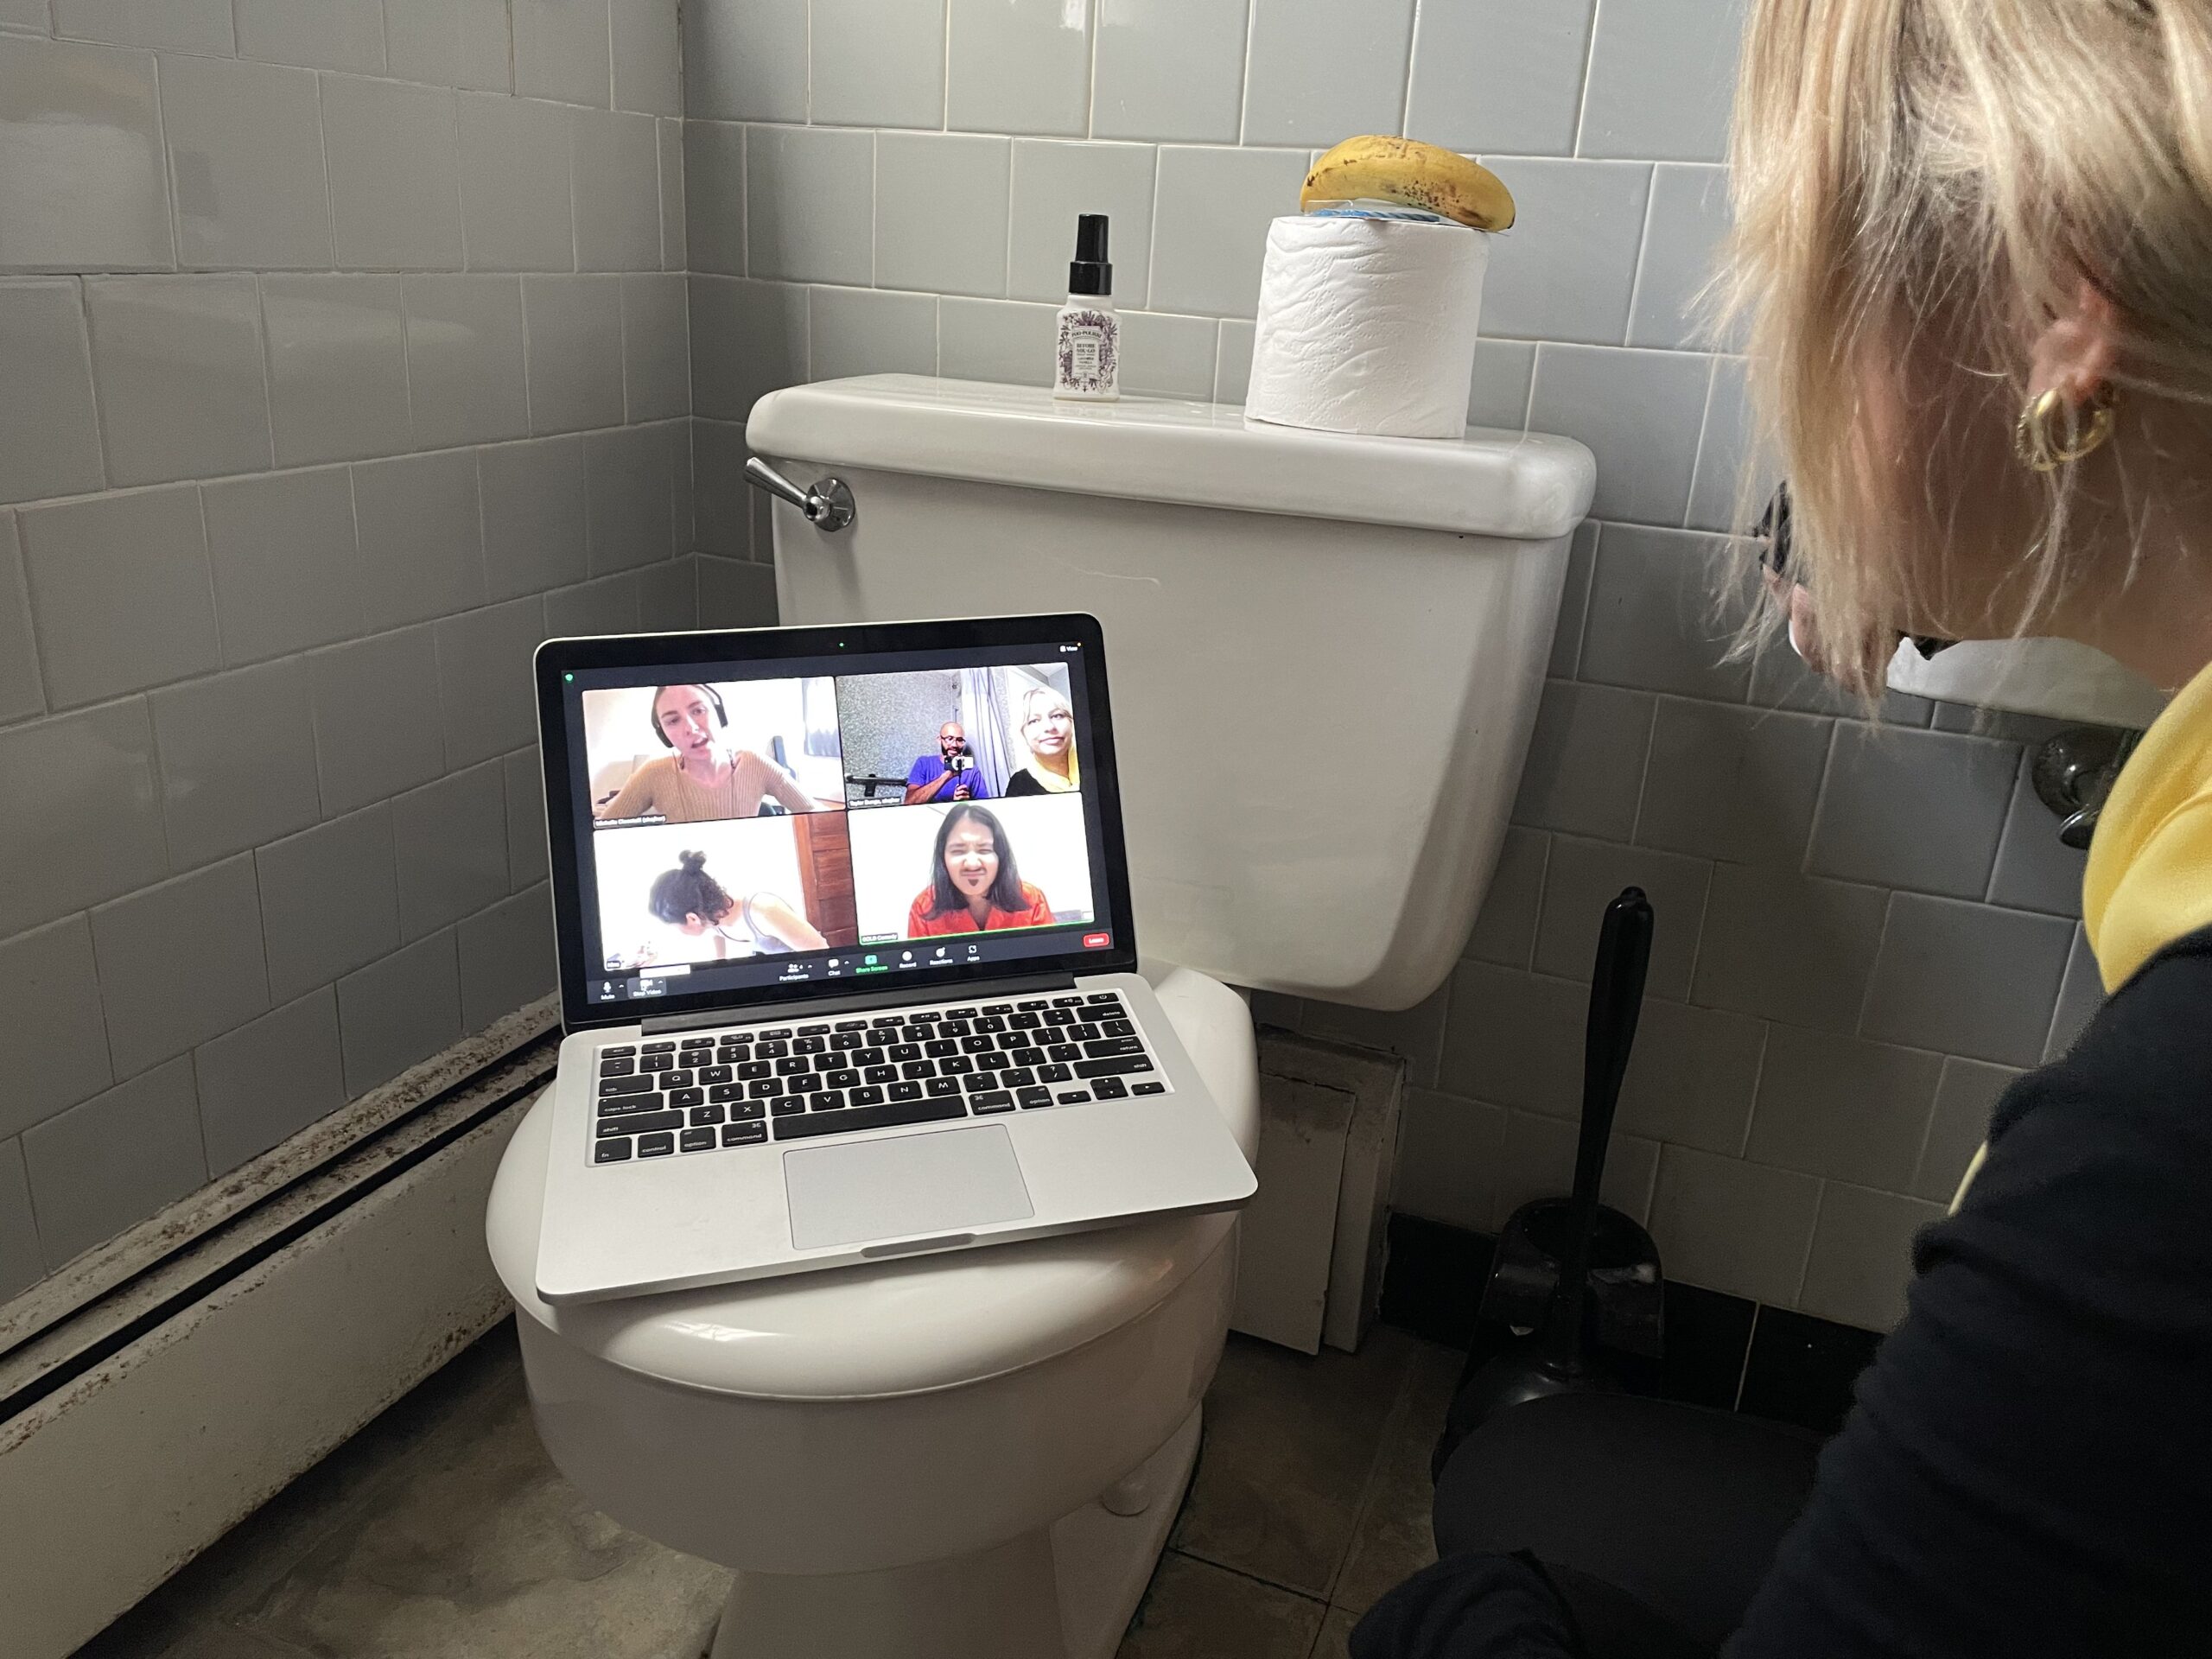
- Directing on Zoom/Google meet
- I’ll be honest, it sucks. It can be tough for directors to get a feel of the shot virtually. Getting really specific about framing and lighting has helped my team A LOT. Everyone on our team knows how to frame ourselves and light ourselves free of shadows which is great, but screenshots have been helpful to us too. Every time we set up one shot, we will screenshot the frame and send it to our director, who is watching along on Zoom.
- You can also attempt to show your computer screen the shot on your phone or camera, but there WILL be glare, and you WILL get annoyed. This process is SUPER collaborative because there’s a lot of trust involved. Since the director can only vocalize what they want to see and can’t physically be there to…direct, we rely on each other to get the right shot. Sometimes you have to change stuff because it’s just not working out, but that’s all part of the process, baby!
- Label EVERYTHING
- When sharing your files to a Dropbox or Google, it’s best practice to label everything. Talk with your team and make a naming convention that you can all use. For example, we have a dedicated Dropbox folder where we upload all of our raw footage and label them: YOURNAME_SCENE#SHOT_TAKE. It’s proven to be so helpful when it comes to editing. If you’re an editor, you’re welcome!
- When sharing footage
- Do NOT share raw footage via iCloud Link or iMessage, as this will drop the quality of your footage. Instead, try uploading your footage via direct cable, hard drive, or airdrop.
- No greenscreen? No problem!
- If a greenscreen is not an option for you right now, you can still make it work! When pitching and writing your sketches, always have your location in mind. Think about locations that are easily accessible for most team members. (i/e. Local park, bathroom, kitchen, etc.).
- There are also little greenscreen cheats like getting several yards of bright green fabric, which is much cheaper than a professional greenscreen–and balls up!
- Stock images are your friend!
- Being virtual can be challenging, but you can have fun with it! We use lots of fun stock footage from Storyblocks or Pexels (excellent free photos and videos!).
Today, we learned collaborating while remote is tough but not impossible! I was nervous about being on the only virtual team, but thanks to everyone on Bloomsday, I feel supported and excited to create each month. Finding a crew of friends you enjoy working with is the key to getting started. So join the GOLD club, find your comedy crew and start making stuff! Cheers!